
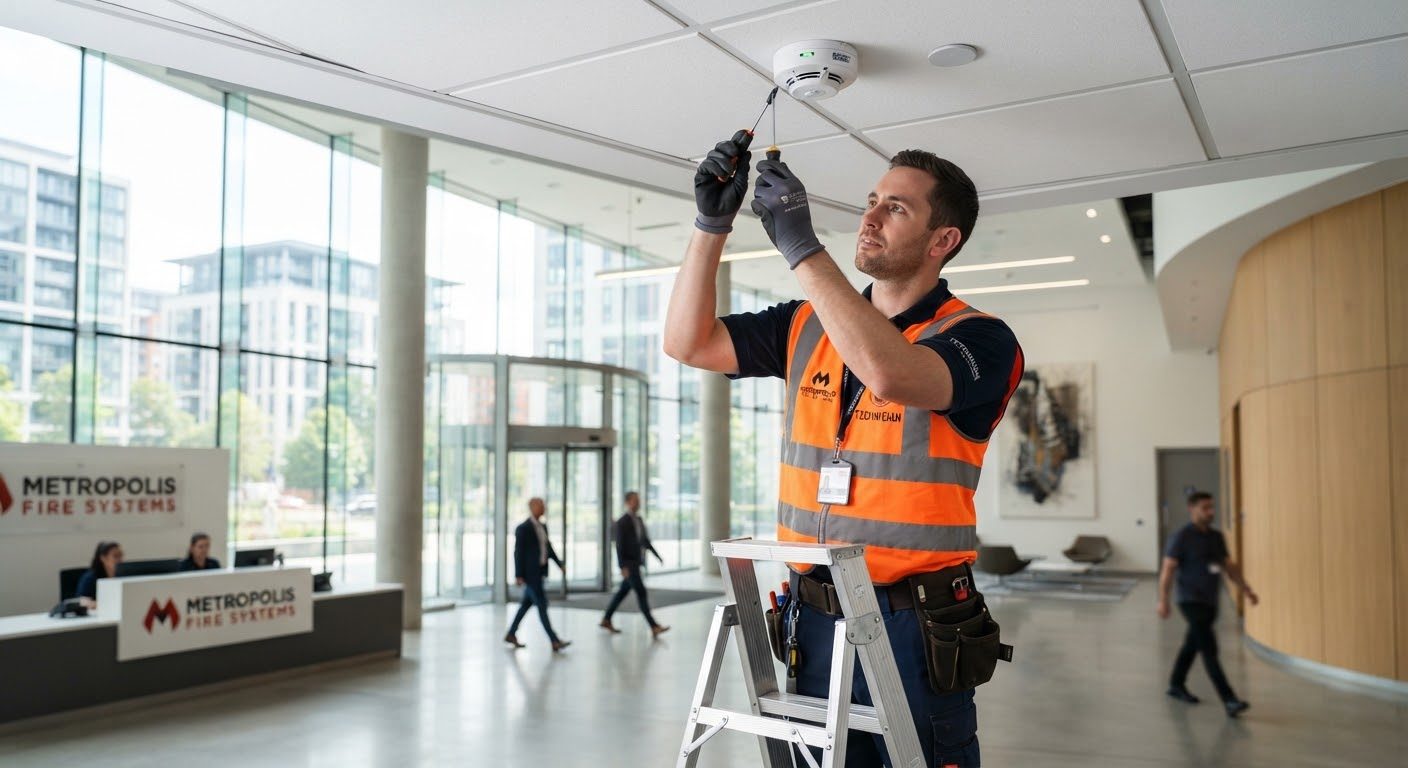
Smoke alarm placement follows a few NFPA rules that most homes get partly wrong — usually one hallway alarm covering four bedrooms, or a unit mounted dead in a corner where smoke arrives last. Here's the complete placement map, room by room, plus the mounting details that determine whether an alarm sounds early or late.
The core coverage rules
- One on every level of the home — including the basement and finished attics.
- One inside every bedroom. Closed doors are excellent smoke barriers — that's good for survival but means a hallway alarm may not wake someone behind a closed door until late.
- One outside each sleeping area — the hallway serving the bedrooms.
- Interconnected wherever possible — when one sounds, all sound. Hardwired interconnection is required in newer construction; wireless-interconnect battery models retrofit the same behavior into older homes.
For a typical two-story, three-bedroom house with a basement, the math comes to six to seven alarms minimum — one per bedroom (3), the upstairs hallway (1), the main level (1), the basement (1), plus any additional living areas.
Placement by location
- Bedrooms: ceiling-mounted, roughly centered.
- Hallways outside bedrooms: ceiling, within reasonable distance of the bedroom doors they serve.
- Basement: on the ceiling near the stairs to the level above — the escape path you need warned first.
- Near (not in) the kitchen: keep alarms at least 10 feet from cooking appliances to cut nuisance alarms. If the floor plan forces closer placement, use a photoelectric unit or one with a hush button.
- Stairways: smoke travels up stairwells — an alarm near the top of stairs catches fires from the level below early.
- Living areas: larger or open-plan homes benefit from coverage in main living spaces, especially those with fireplaces or wood stoves.
Mounting: ceiling vs. wall, and the details that matter
- Ceiling is preferred — smoke rises. Keep ceiling-mounted units at least 4 inches from any wall.
- Wall mounting works when necessary: top of the alarm 4–12 inches below the ceiling.
- Vaulted and peaked ceilings: mount within 4 to 36 inches of the peak (measured vertically) — tight against the peak sits in a dead-air pocket; more than 3 feet down lets smoke stratify above the alarm.
- Avoid dead-air corners where wall meets ceiling — smoke fills corners last.
Where NOT to put them
- Within 3 feet of air vents, ceiling fans, or returns — drafts push smoke away from the sensor;
- Bathrooms and directly outside shower doors — steam triggers false alarms and degrades sensors;
- Garages, unfinished attics, extreme-temperature spaces — use heat alarms there instead;
- Right against the kitchen stove — see the 10-foot rule above. Chronic nuisance alarms get batteries pulled, and a disabled alarm protects no one.
Maintenance and replacement
- Test monthly with the test button;
- Replace batteries annually (or use 10-year sealed-battery models);
- Replace the entire unit every 10 years from the manufacture date printed on the back — sensors degrade even if the test button still beeps;
- CO alarms — required outside sleeping areas in most jurisdictions, and on every level in many — have shorter lives: 5–10 years by model. Combination smoke/CO units follow the CO clock.
When to bring in a professional
Battery-powered units are a homeowner job. Bring in a licensed pro for: hardwired interconnected systems (new circuits and interconnect wiring), smart/monitored systems, landlord compliance documentation (many jurisdictions require documented working alarms at every tenancy change), and homes with residential sprinklers (NFPA 13D), which carry their own service needs. Those are exactly the pros in our residential fire safety category — find licensed companies near you.
Business owner too? Commercial occupancies play by entirely different rules — start with the commercial fire inspection schedule.